Fertilising bonsai with feed cakes
From my experiments with feeding I believe that frequent weak strength fertilising is much better for bonsai than stronger infrequent fertilising. I had been taught by Megumi Bennett and read in several places about fertiliser cakes and thought that these would be a great way to achieve this. After some trial and error I have found the following to be a successful way of making feeding cakes for bonsai.
Warning: I will take no responsibility for any negative effect on family or neighbour relationships as a consequence of the aroma produced from the following recipe.
Ingredients
You can use almost anything you like. The most important part is its ability to dry once made into a cake. The following ingredients and volumes are one example. You will see a different version in the video. The ratios are in no way the only way to make these cakes, they are just what I have found to work for me.
- Rooster booster
- Seaweed extract: (approx three table spoons if granules or 50-100ml of concentrated liquid)
- Blood & bone: (approx 1 cup)
- Worm farm extract or water
- Eco – Aminogro (½ cup)
- One ten litre bucket with tight fitting lid
- Plank of timber (any kind will do)
Recipe
- Place seaweed extract, blood & bone, Aminogro, and approximately two cups of worm farm extract or water into the bucket and mix this until everything is combined. Sometimes leaving this to stand for 10mins will help the process.
- Add rooster booster to this mix in small increments, stirring the mix as you go to ensure that everything is well combined. I generally do this until the bucket is half full (or half empty depending on your frame of mind). The volume of Rooster Booster can be altered to suit the amount of mix you want.
- Add worm farm extract or water until the mix is covered by about 1-2inches/3-5cm of liquid. This amount of liquid is used so that the mixture does not end up too runny. Give this a good stir and put the lid on the bucket making sure it is air tight.
- Leave this mix to stand for at least three days. This will result in the mix becoming a thick paste.
- After a few days check the consistency of the mix. It will most likely be a bit on the thick side which is good as it is easier to add more water to in order to get the correct consistency. If it is too sloppy add some more rooster booster and leave it for a few more days. If it is thick add small amounts of water until you get the correct consistency. The ideal consistency is a paste that can be moulded without losing shape (too wet) or cracking (too dry). I think the best mix is a bit thicker than wet cement.
- Spread the mix across a timber board about 2cm thick. I use a small cement trowel for this but you could use anything.
- Score the top of the mix into the size you want the cakes to end up. I generally make them about one inch squares. To do this I find that using something a bit sharp works best like an old knife or the tip of a cement trowel. Don’t try to score them too deeply at this stage as they will not hold their shape.
- Place this mix into a dry area to cure. I place mine in my shed so the smell is contained. I also bring mine out into the sun for a few hours when possible to aid the drying process. I find that the drying process works best if they are allowed to dry slowly as full direct sun in the middle of summer will usually result in more of them cracking. The curing process will take about one week depending on the time of year (temperature), how thick you make them, and how porous the timber you placed them on is.
- After a few days (while they are still a bit damp) re-score them in the same areas. You should be able to cut right through them at this stage without them cracking in the wrong places. Don’t worry too much if you don’t do this as they will easily break along the scored areas when fully dry.
- Once they are cured enough to maintain their shape use a spatula to turn them over so they can dry properly.
- Once they are dry they will not smell as much. Place them into a dry bucket with the lid on, I use the same one we made the mix in. They will last a long time and can be used as needed.
- Variations to this include placing the wet mix into egg cartons to dry, small seedling pots that have been cut in half or straight into feeding cages
How to use them
- Straight onto the surface soil with no securing. This works best for stock trees that are still in containers with lips
- Secured with wire to the surface soil. I do this for some of my trees in bonsai pots. Do this by making a horse shoe type pin around the cake out of 2mm wire and pin it to the soil like you would pin down new moss
- Place them into purpose built feeding cages that can be bought
- I always supplement the use of the cakes with liquid fertilisers that are seasonally adjusted. This is to achieve maximum results. What the cakes do is take the pressure of having to do this
When to use
- Best in spring as they are a high nitrogen feed however I have had good results when using them in autumn
What to use on
- Anything you would normally use a high nitrogen feed on
- Conifers respond very well
- Anything that you want to thicken the trunk quickly on and strip branches off in the future. For example, this technique can be used for figs by allowing them to grow with as many low branches as possible then once the desired trunk line is achieved all the branches are removed so new branches are grown.
What not to use on
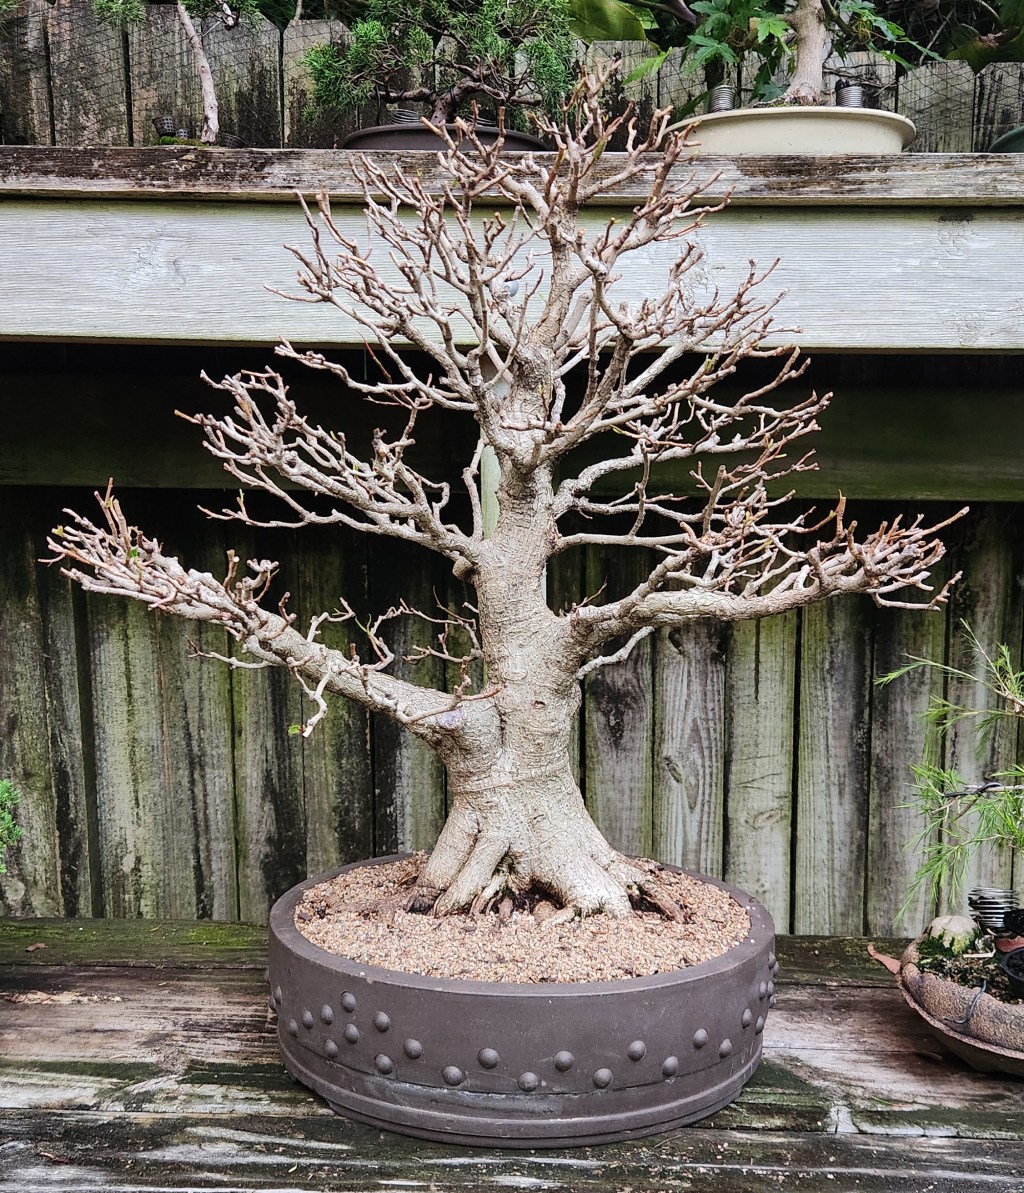
- Deciduous trees. Others may disagree with this but my personal belief is when growing deciduous trees as bonsai a better result is achieved when they are grown more slowly. When I have used the cakes on my deciduous trees I have found that the top thickens too quickly, the internodes become quite long and any scar tissue that is healing becomes quite lumpy. Deciduous trees should be allowed to grow slowly so that you can get the best ramification possible with delicate braches that get finer as you ascend the tree.
- Trees in or just before flowering